In case you didn’t already read my last post on starting a pinterest challenge, take a peek. I basically have made a commitment to myself to start working at actually doing the ever growing list of crafts I am pinning. It took me a little while to get started as we were out of town for may long weekend, and I have also been in the process of getting my poop in a group for putting in a garden. What better craft for me to start out with than a craft FOR my garden??
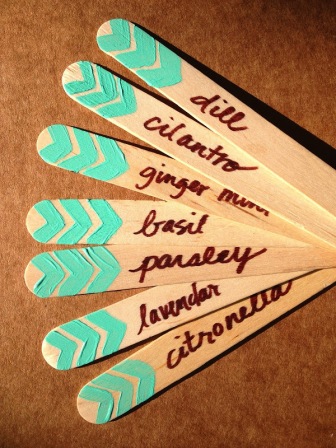
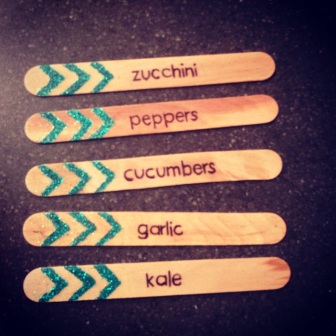
I saw these really adorable chevron garden markers and I thought they would be perfect! Getting my supplies was easy – I already had glitter on hand so I opted to do that instead of paint, I also had the mod podge and sharpies so all I needed to get was the popsicle sticks. I got mine at Michael’s for about $5, but I am sure you could find them at the dollar stores too.
I don’t have the nicest writing, and I am a bit of an anal Annie so I decided right off the get go that I didn’t want to freehand the stripes or the writing. I created a make shift stencil from thin cardboard I had in my recycling bin, and made up a document in word with all my planted typed which I printed so that I could trace them. If you decide to print off the the plant names for you to trace make sure that you use a size that will fit the width of your sticks.
First step is to use your stencil to either paint or mod podge + glitter all your sticks, you may need to do little touch ups along the way. When it came to labeling I found if I used my marker right onto the wood stick that the ink would bleed so I did a layer of mod podge on to all the sticks BEFORE labeling them. You will need to give about 30 min to allow the mod podge to dry. To trace the words, I just scribbled pencil onto the back of my paper and then set it on the sticks, and then traced the words so that the pencil on the back transferred onto my sticks. I then used the traced pencil as guideline for using my sharpie marker. There was a little additional lead that transferred onto my sticks, so I just used eraser to clean that up. From there I just did a couple of layers of mod podge both on the front and the back of the sticks to seal them up so that they will hopefully survive the elements in the dirt.
I was super happy with how they turned out, I really thought they were super adorable. However! If I were to do this craft over again I would make a few changes, I think that I would use even larger sticks (like paint stir sticks?) so there is more to stick into the soil and still be able to read them, I would just use paint instead of glitter for a cleaner look and lastly I think I would just use some sort of spray on sealer rather than use the mod podge… the sticks felt kind of stickyish after it was all said and done despite leaving a lot of time for the mod podge to dry and whatnot. Overall it was a fun, cute and simple craft, though a bit time consuming in order to allow time for the mod podge to dry . Now I just need the weather to cooperate so that I can finish up planting my garden!
- Gather your supplies.
- Trace your stick and create stencil
- Use stencil to paint or mod podge on your sparkles
- Do any needed touch ups while mod podge is still wet
- All glittered! Do a layer of mod podge.
- Printed out plant names
- Scribble on the back with pencil
- Trace over print outs to imprint the pencil on your stick
- Pencil traced, just sharpie over.
- After a couple layers of mod podge – the finished sticks!
- Putting my little craft to use


